> For the complete documentation index, see [llms.txt](https://kayen-protocol.gitbook.io/documentation/llms.txt). Markdown versions of documentation pages are available by appending `.md` to page URLs; this page is available as [Markdown](https://kayen-protocol.gitbook.io/documentation/chiliz-guide/bridging-tokens-to-chiliz.md).
# Bridging Tokens to Chiliz
### What is a Bridge?
A bridge is a smart contract which allows holders to move their crypto or digital assets from one network to another.
In the case of Chiliz Bridge, we will allow holders to move their CHZ between Ethereum Mainnet and Chiliz Chain. The reason behind this is because CHZ, which is currently an ERC-20 token on Ethereum mainnet, is also the native currency of Chiliz Chain. So in order to run the chain, we needed to bridge CHZ tokens to the new chain.
### How Do I Bridge Tokens?
Tokens can be bridged to Chiliz Chain using a variety of platforms. This guide explains how to utilize the official bridge and various multi-chain bridges. You could also opt for one of the centralized exchanges that support Chiliz transfers :arrow\_down:
### Prerequisite
In order to bridge your CHZ tokens between Ethereum and Chiliz Chain you will need to have:
1. CHZ tokens on at least one of the above mentioned networks.
2. Enough ETH to pay the gas fee if you are bridging from Ethereum, or enough CHZ to pay the gas fee if your bridging from Chiliz Chain.
3. A MetaMask wallet or any other Web3 wallet.
## Step-by-Step Guide
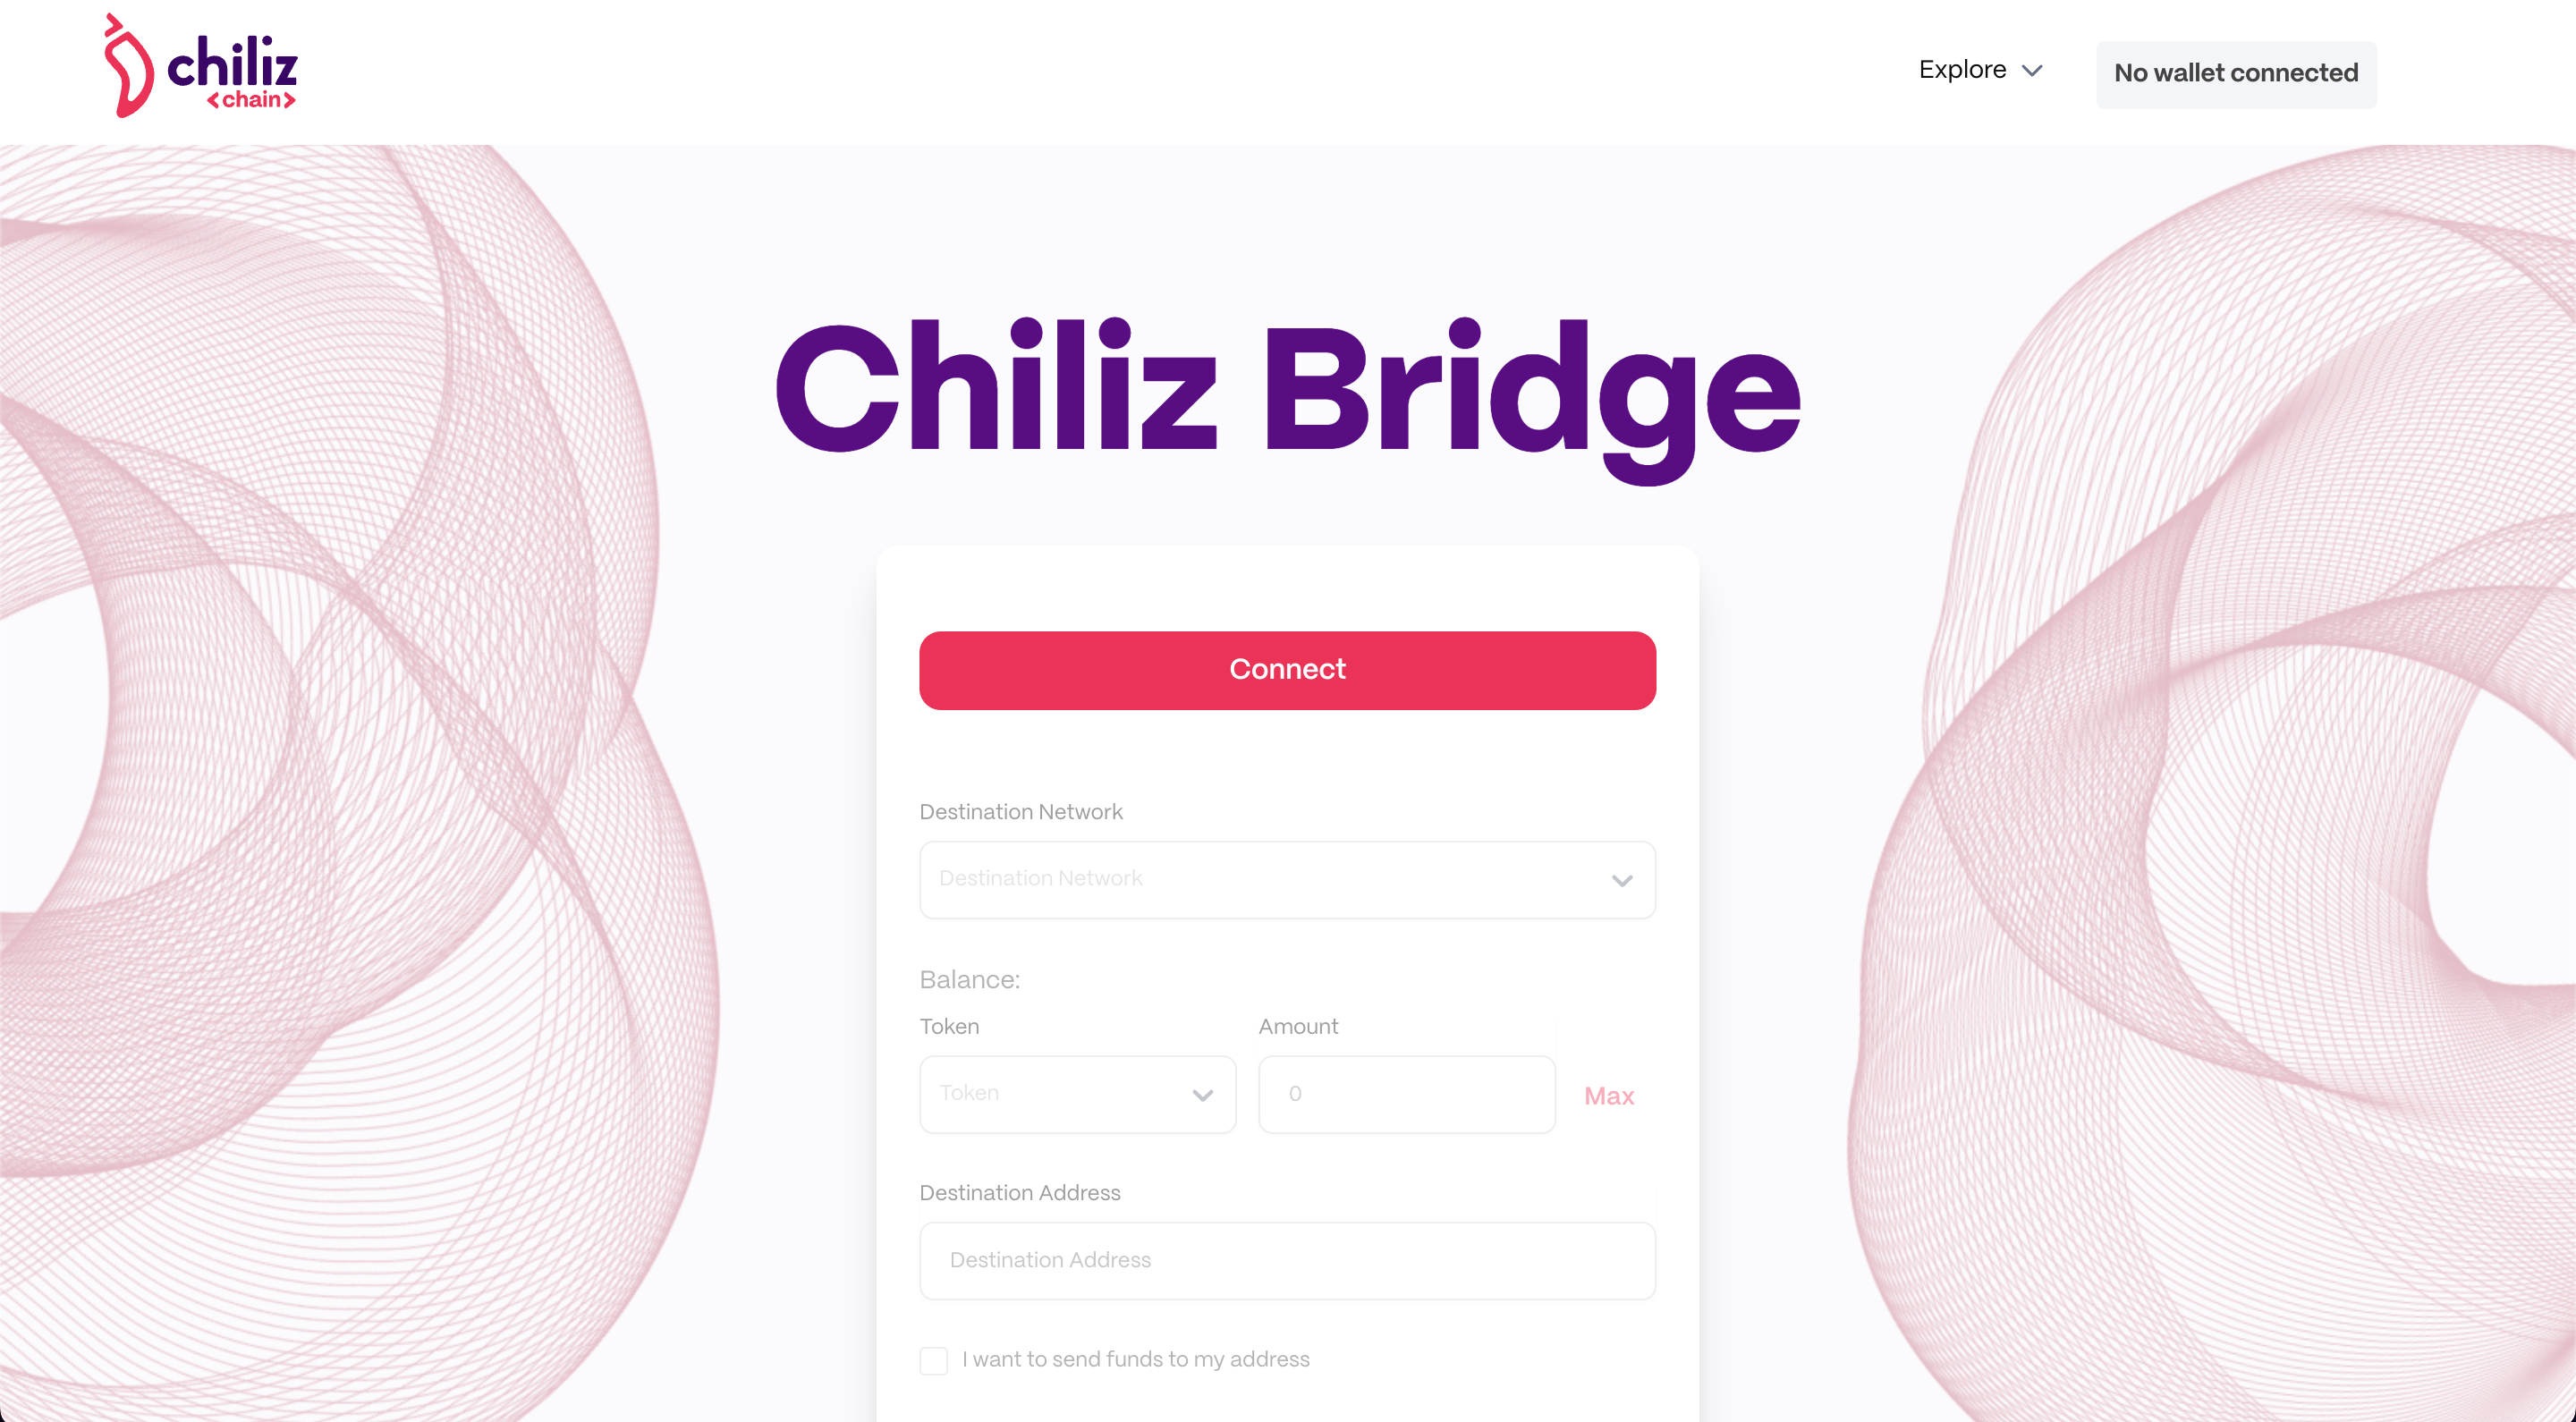
1. Visit
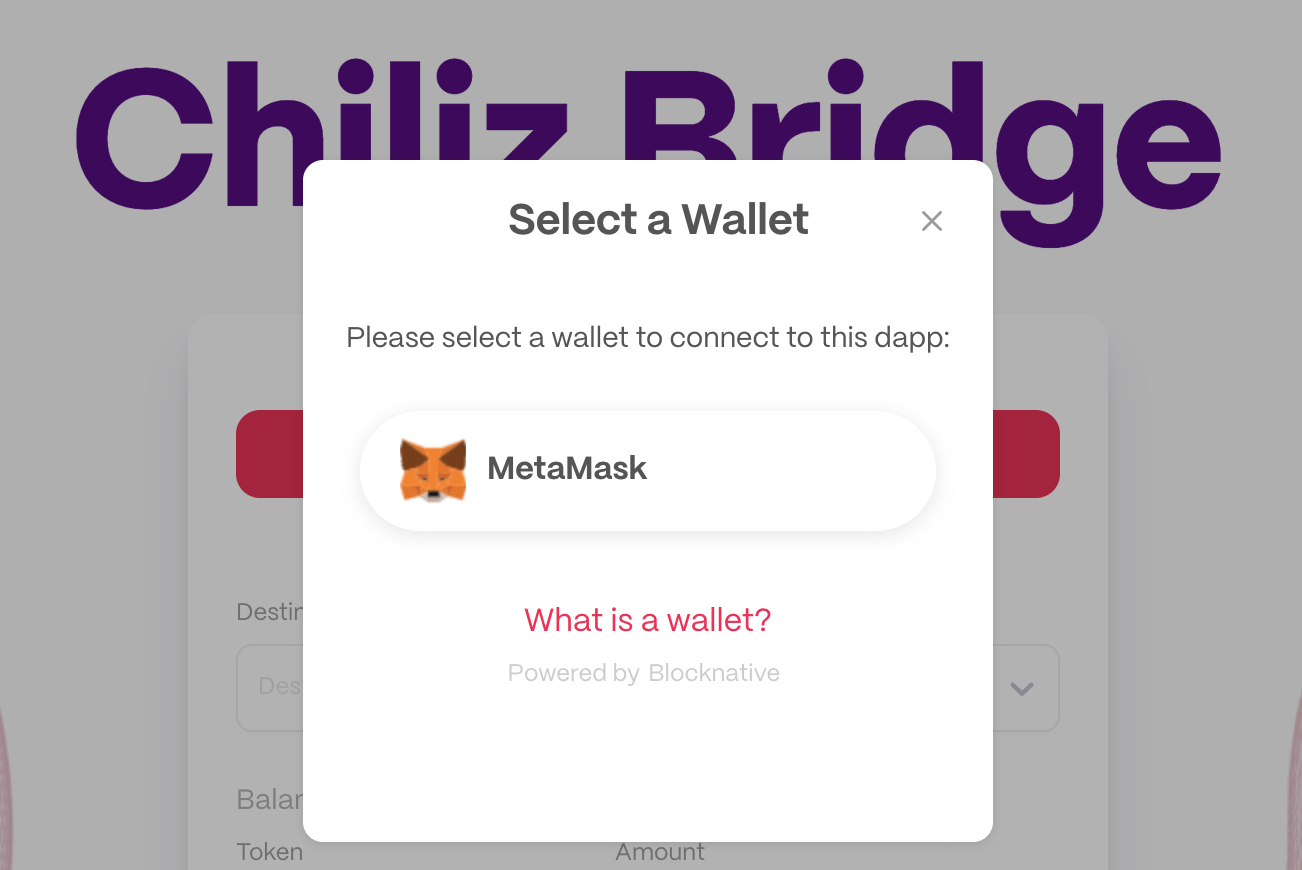
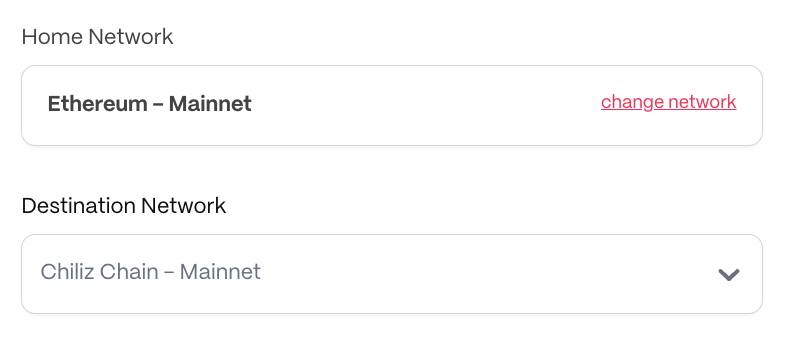
2. Connect your MetaMask wallet to whichever network you want to bridge **FROM.**
3. Make sure the destination network is the network you want to bridge **TO / Destination Network,** which is **Chiliz Chain - Mainnet.**
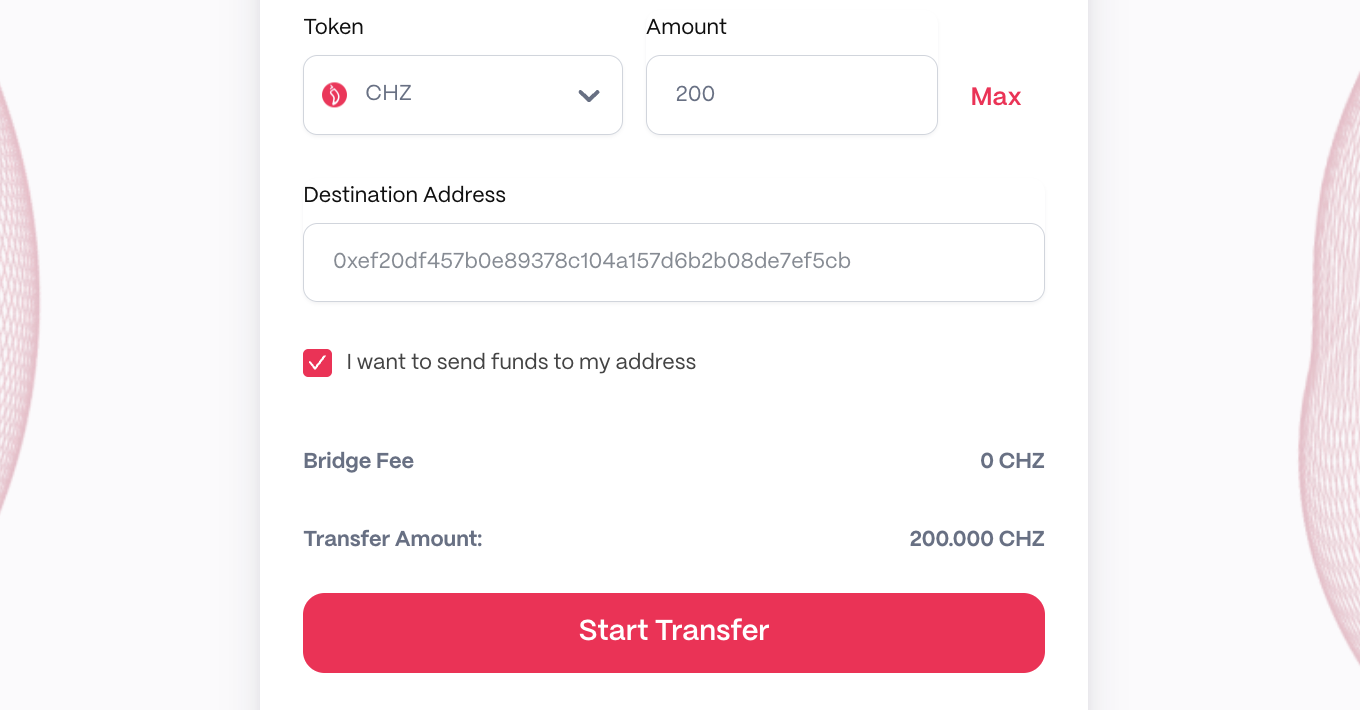
4. Enter the amount of CHZ you want to bridge.\ You should have enough CHZ to bridge the selected amount and cover the bridge fee if you're bridging **FROM** Chiliz Chain.
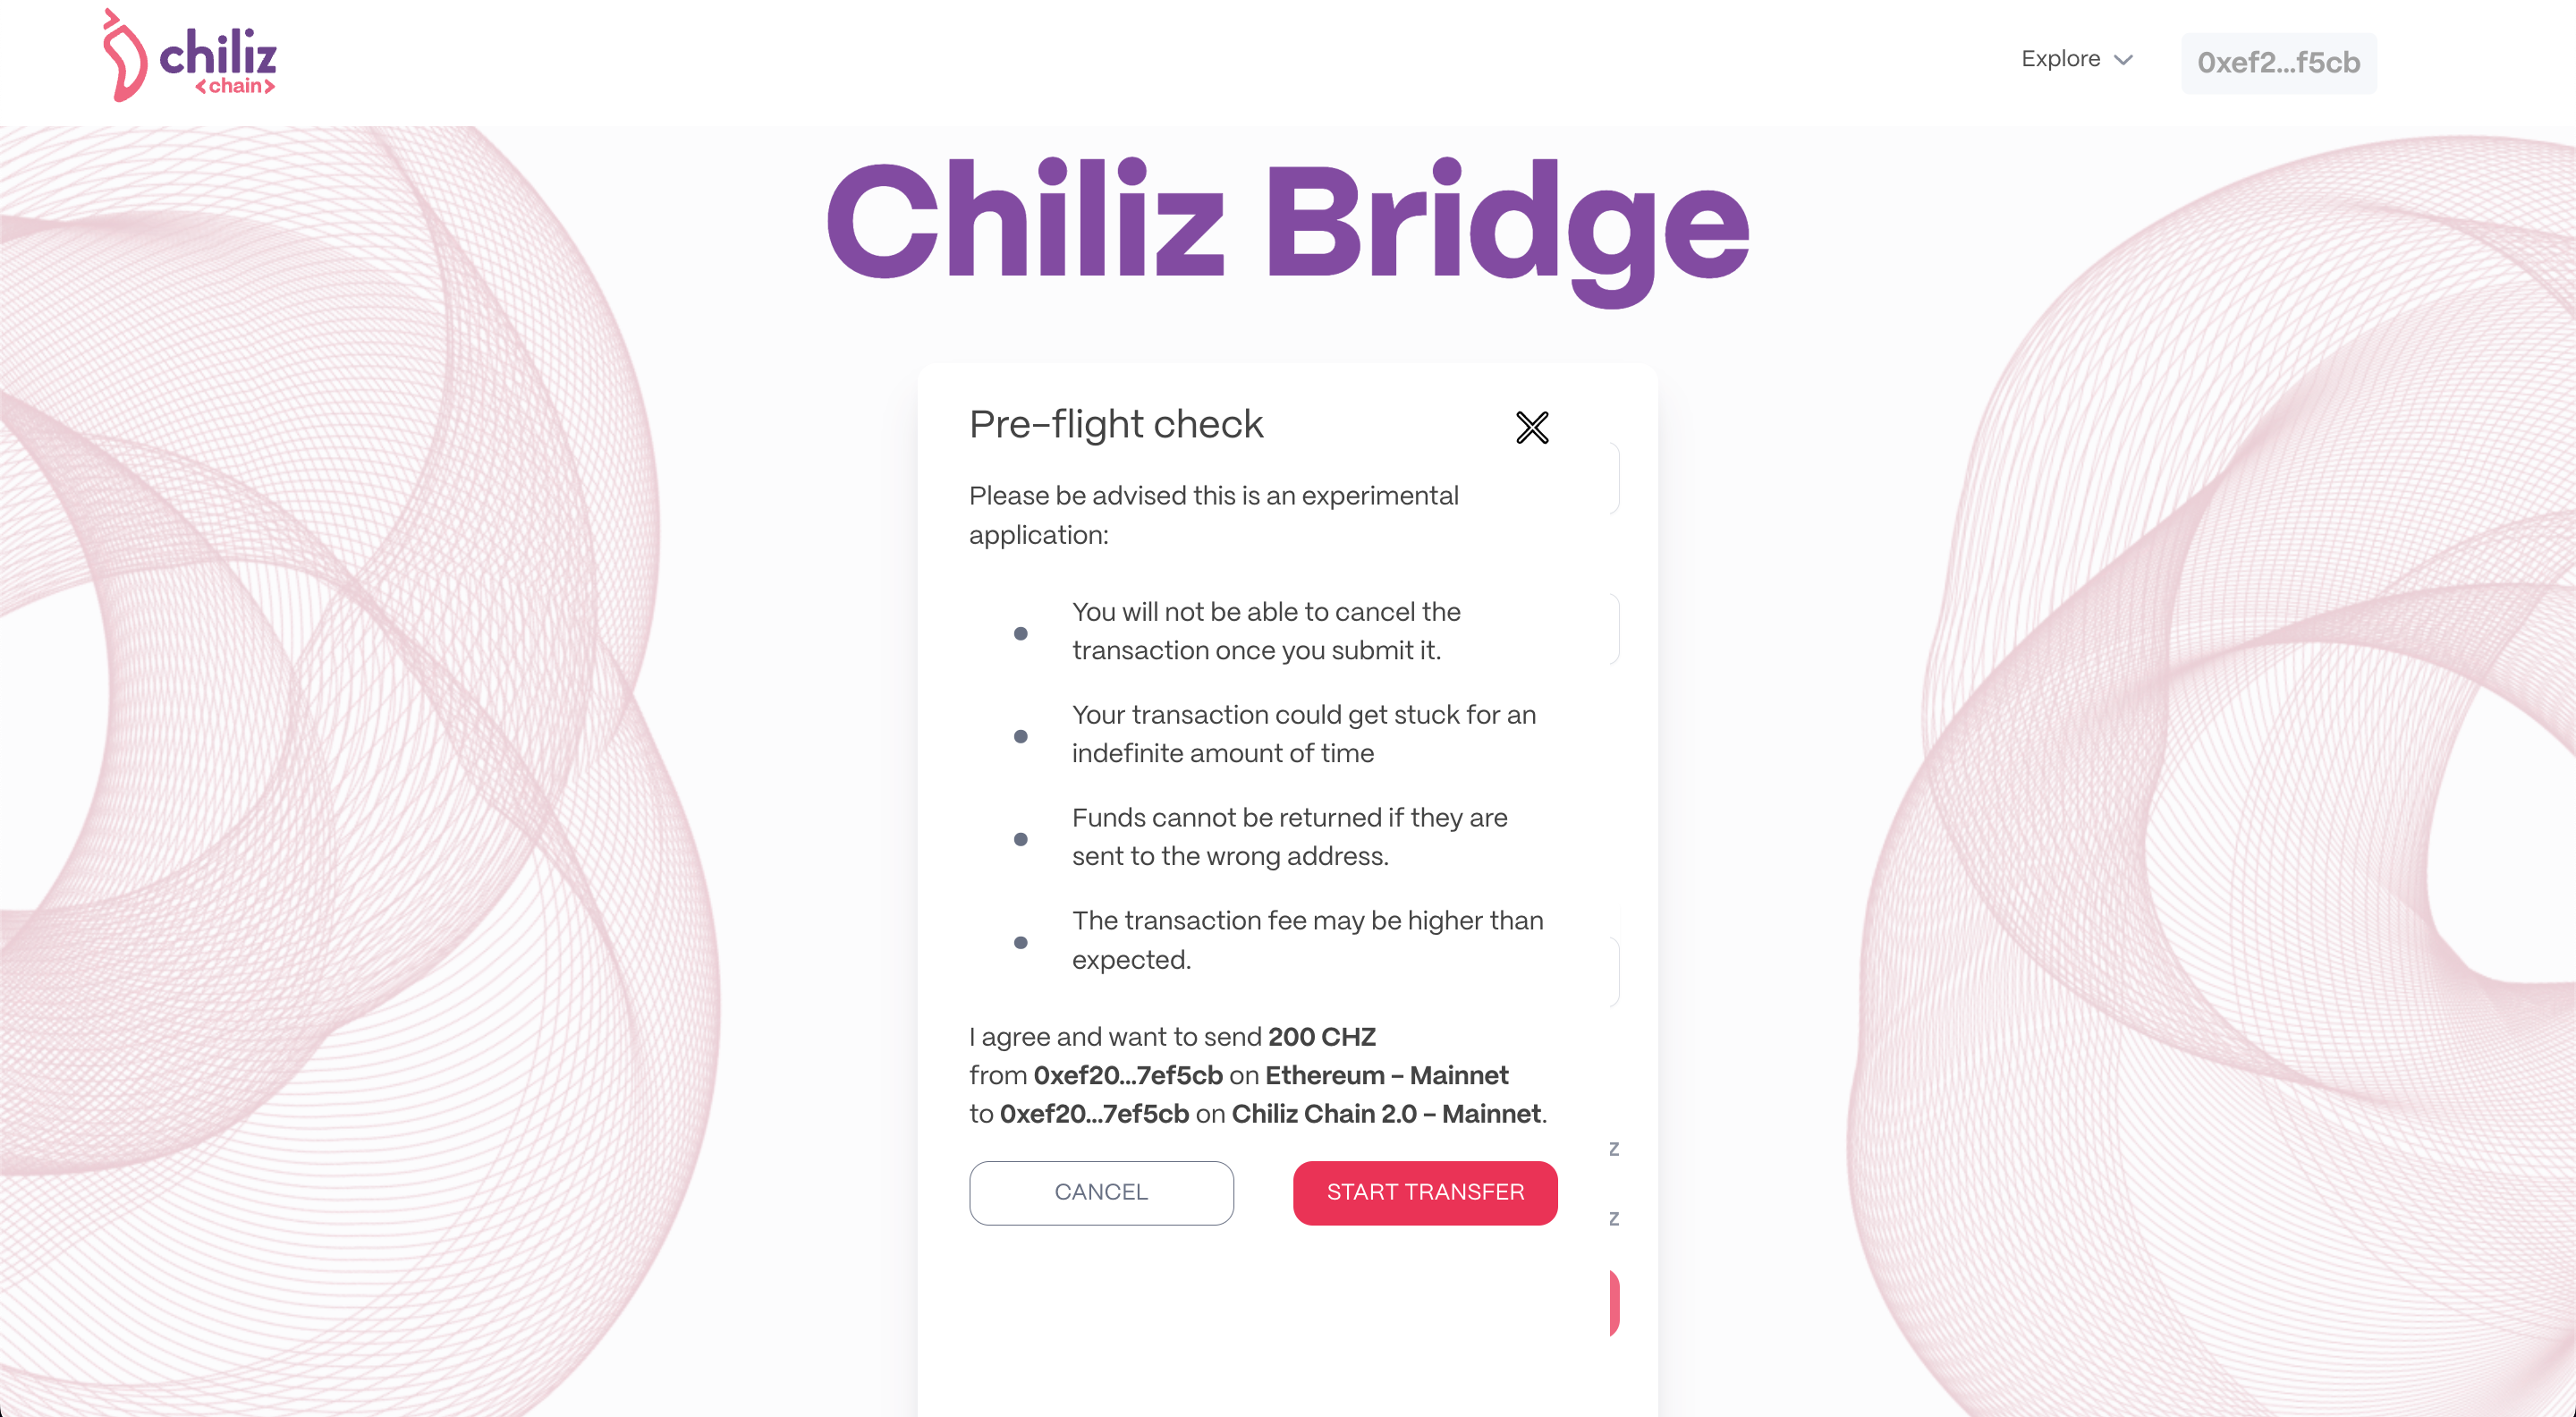
5. Select your destination address (which is where you want your CHZ to arrive) and click *Start Transfer*.
6. Click *Start Transfer* one more time*.*
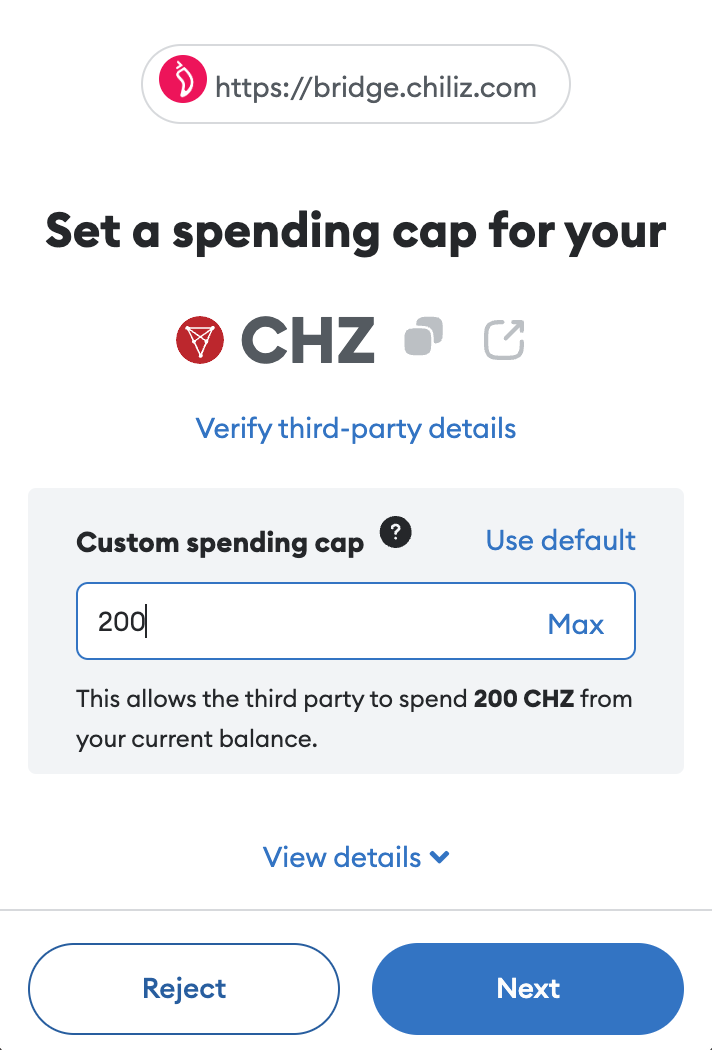
7. Set a spending cap for your CHZ. Spending cap should be **more than the amount** you plan to transfer.
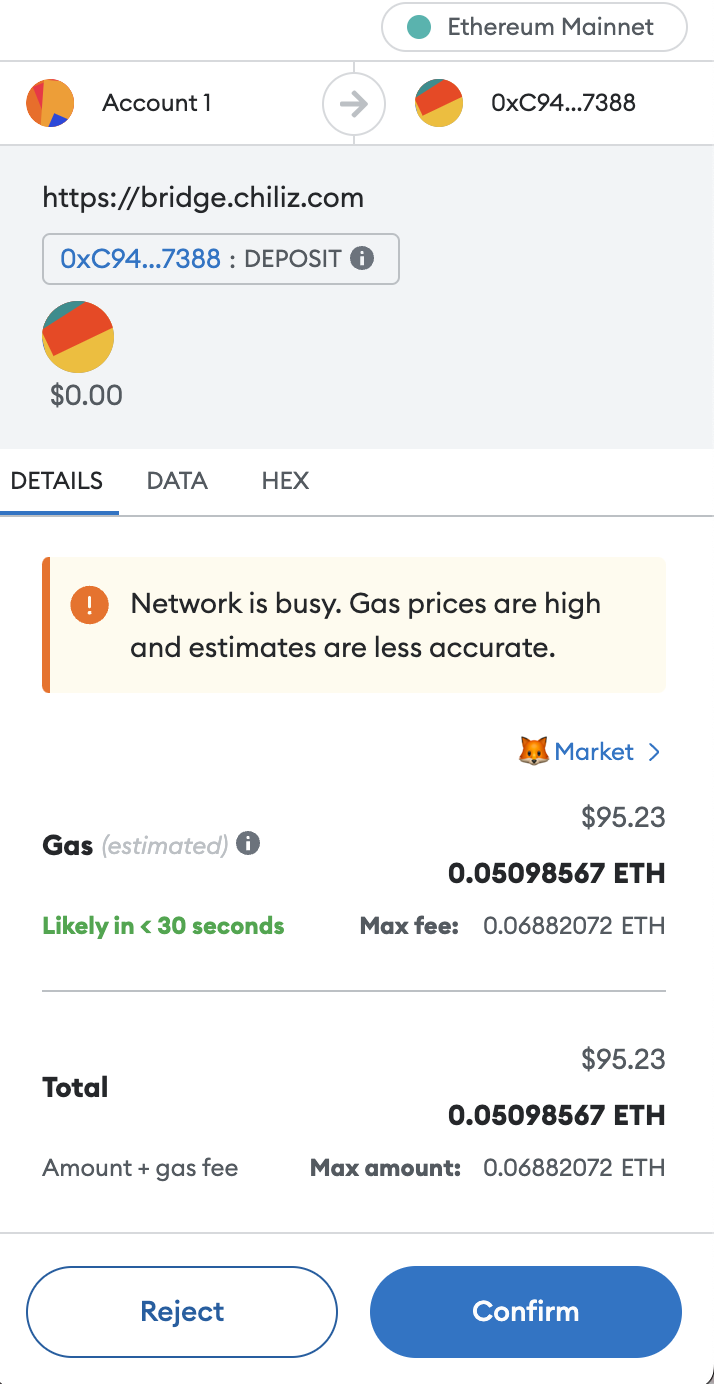
8. Click Confirm.
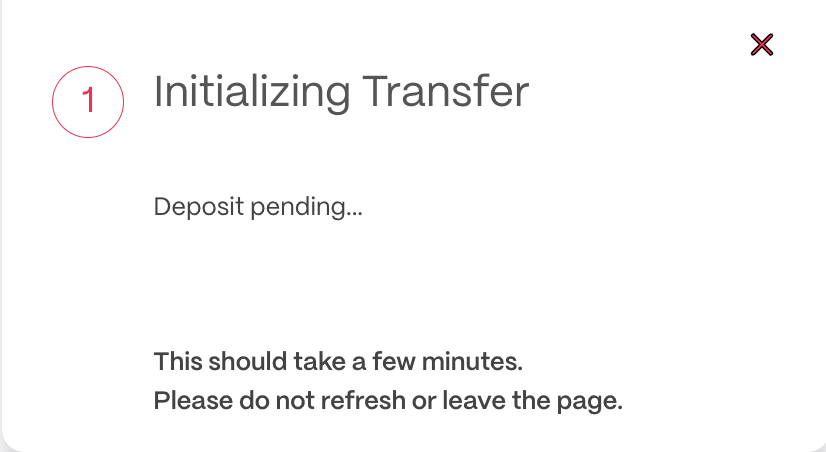
9. You should now be able to see 1. Initializing Transfer. This should take a few minutes. **Do not refresh the page.**
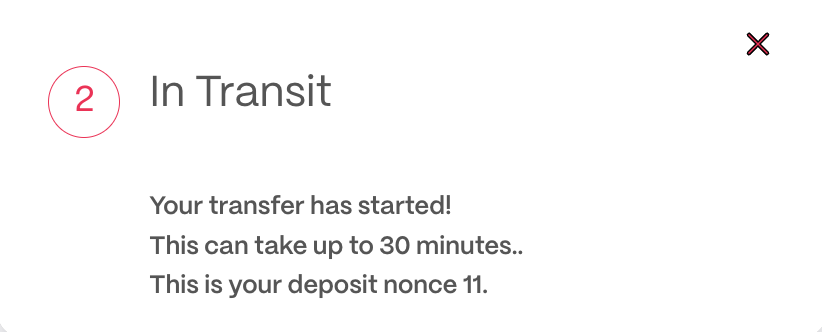
9. Your transfer has started. This will take up to **30 minutes.**
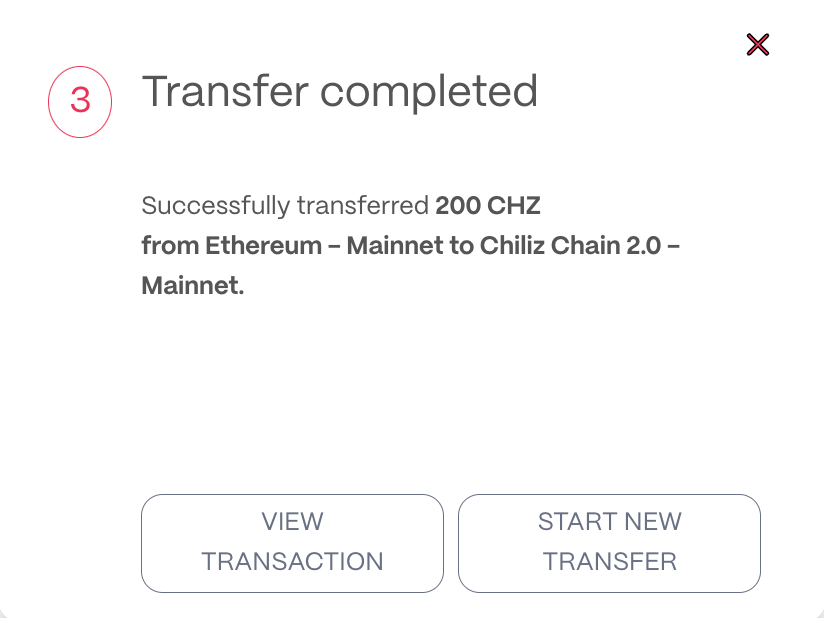
10. Your transfer has been completed. You can now view the transaction by clicking View Transaction or start a new transfer by clicking Start New Transfer*.*